
I have shirred everything in my path lately! Still on my "using what I have to make things" kick, so I have literally cut up most every piece of clothing that I was intending on getting rid of (and have come close to cutting up perfectly good things that look like fun to shirr).
T-shirts make the prettiest dresses...it's amazing.
 My girls' dresses were from 3 of my old shirts cut into 5" wide strips. I shirred the top tier and kept adding tiers until the dress was long enough for that girl. I added braided straps to the older girls' dresses.
 On this dress I shirred a few rows at the top of a strip of t-shirt and sewed them on the top tier at an angle for the sleeves.
I made 3 of these shirts for my girls out of my old pajama pants and a t-shirt.
 The top of this dress was my old shirt and then I added strips from a t-shirt on the bottom.
 This was made from an old dress I had.
 These next dresses were probably the most time consuming. I bought a dress for Easter/Graduation and I actually hadn't planned on making the girls'. Then I found an old shirt (the orange color) and it matched my dress exactly. I knew I had to come up with something.


 So these are made from their Daddy's old dress shirt, and other random shirts from my giveaway pile.
I loved the fullness of the tiered skirt for my middle girl. I was literally having to piece together small sections of material to make it work, but in the end it did.
If you want a quick easy way to figure up how to make one of these skirts, this is a great place to look...http://www.chicaandjo.com/2009/05/28/sew-a-tiered-ruffled-skirt/.
They actually give you a calculator (which would have been handy about 6 hours before I found it).
With all of this shirring going on, I had to repurpose this dress I had. I loved it, but the pattern had become a little overwhelming to me.
 So I cut it off under the keyhole and added black to the top (some old shorts I had) and shirred it.
 I'm not crazy about the low belt, but I didn't have any choice. It was normally supposed to tie in the back, but it looked better in the front after the alterations.
So, I have to take a break from shirring...I have to move halfway across the country. Just hopefully when I get there I have something left to shirr.
If you've never shirred anything before here's a great youtube video...http://www.youtube.com/watch?v=WckKmm1cPFs
Also, I have found that light weight non-stretchy material is the best for shirring.

T-shirts make the prettiest dresses...it's amazing.
 My girls' dresses were from 3 of my old shirts cut into 5" wide strips. I shirred the top tier and kept adding tiers until the dress was long enough for that girl. I added braided straps to the older girls' dresses.
 On this dress I shirred a few rows at the top of a strip of t-shirt and sewed them on the top tier at an angle for the sleeves.
I made 3 of these shirts for my girls out of my old pajama pants and a t-shirt.
 The top of this dress was my old shirt and then I added strips from a t-shirt on the bottom.
 This was made from an old dress I had.
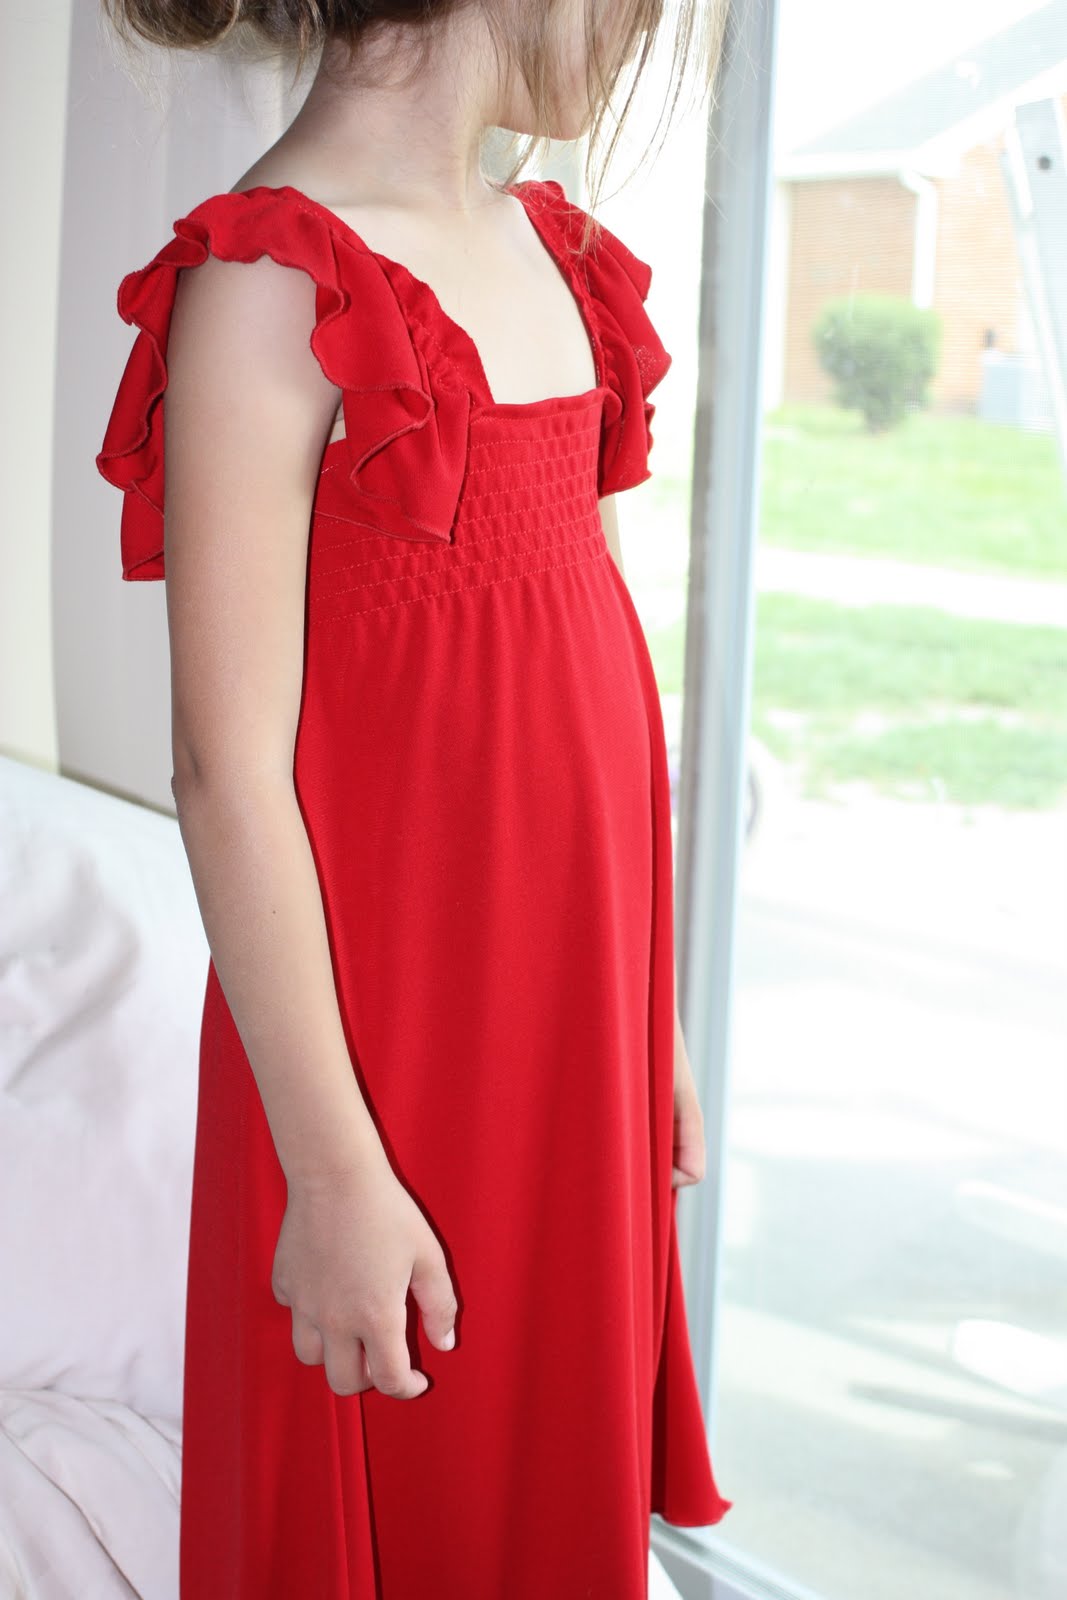 These next dresses were probably the most time consuming. I bought a dress for Easter/Graduation and I actually hadn't planned on making the girls'. Then I found an old shirt (the orange color) and it matched my dress exactly. I knew I had to come up with something.

 So these are made from their Daddy's old dress shirt, and other random shirts from my giveaway pile.
I loved the fullness of the tiered skirt for my middle girl. I was literally having to piece together small sections of material to make it work, but in the end it did.
If you want a quick easy way to figure up how to make one of these skirts, this is a great place to look...http://www.chicaandjo.com/2009/05/28/sew-a-tiered-ruffled-skirt/.
They actually give you a calculator (which would have been handy about 6 hours before I found it).
With all of this shirring going on, I had to repurpose this dress I had. I loved it, but the pattern had become a little overwhelming to me.
 So I cut it off under the keyhole and added black to the top (some old shorts I had) and shirred it.
 I'm not crazy about the low belt, but I didn't have any choice. It was normally supposed to tie in the back, but it looked better in the front after the alterations.
So, I have to take a break from shirring...I have to move halfway across the country. Just hopefully when I get there I have something left to shirr.
If you've never shirred anything before here's a great youtube video...http://www.youtube.com/watch?v=WckKmm1cPFs
Also, I have found that light weight non-stretchy material is the best for shirring.


